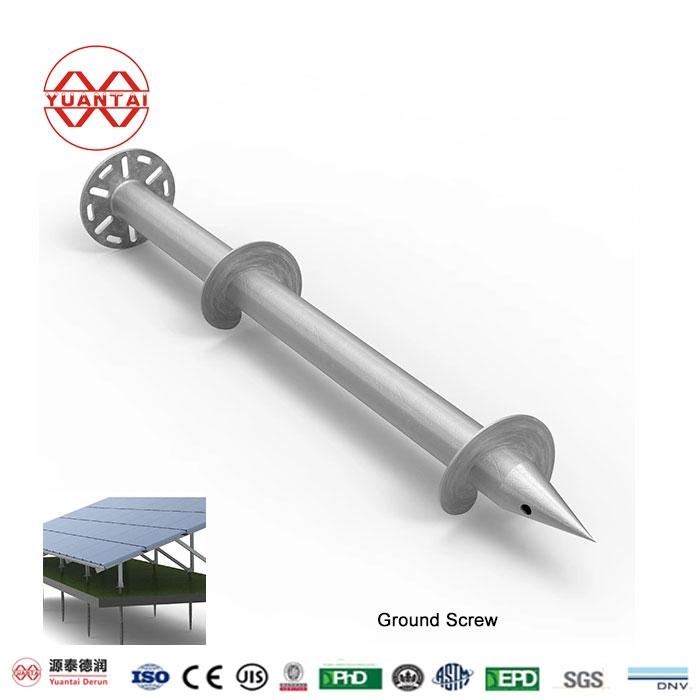
1.Selecting the Right Spiral Ground Pile
Before you begin the installation process, it's crucial to select the appropriate spiral ground pile. Consider factors such as soil type, groundwater level, and the load requirements of your project. Different piles are better suited for sandy soil, clay, or rock, and their specifications vary based on the load they need to support.
2.Determining the Installation Location
Identify the precise location for your spiral ground pile, taking into account the project's needs. Pay attention to the ground conditions, including the presence of foundations or underground utilities, which may affect the installation process.
3.Preparation Works
Prepare the construction site by clearing debris, confirming safety measures, and accurately measuring the depth for the holes that will accommodate the piles.

Send Inquiry Now
4.Excavating the Holes
Dig holes that are typically twice the diameter of the pile. Mark the positions with steel bars or wire rope stakes and then carefully excavate, keeping safety precautions in mind, such as wearing helmets and goggles.
5.Piling Process
Choose the right installation tool and insert the spiral ground pile into the excavated hole. Use a hammer or force application device to push and rotate the pile downward until it's level with the ground.
6.Setting the Pile Top Height
Utilize compression testers to confirm the height of the pile top, ensuring it's flush with the ground for stability and reliability.
7.Backfilling and Compaction
Once the pile is in place, backfill the hole with soil, preferably the same soil that was excavated. Compact the soil and then proceed to lay the ground as required by your project specifications.
